

So walk with me through this journey.
Disclaimer: I can't find any of my good cameras and have been trying to work with my phone camera, which is also in need of an upgrade, so please forgive the pictures. I have since moved the desk to another area in my home and this may be seen with my update of my small office space.
First I had this bookshelf that my friend gave me when she left for Germany and I was using to sit my makeup on. Totally wasted shelf.


And I found a file cabinet at my local thrift store for super cheap


So all I needed was a table top right? Unfortunately, I was so excited when it came, that I forgot to take actual pictures of the table top, but it was bought from IKEA and is the LINNMON Table top in white

So it was time to get all these items together to make a desk. This was truly a learning process and hopefully, I was able to learn for future projects from this project.
First I tried to spray paint with the file cabinet doors on because I couldn't figure out how to remove them, and realized that was a big NO-NO. After much needed google research, I was able to get the knobs off and the drawers out. My tools at the time were from when I put my radio in my car and it came with a screwdriver set. That is a post for a later time. Now unfortunately I don't have step by step pictures, because I was taking the time to learn, but I can tell you that the most important mistakes I made and corrected. Lesson number one- was using primer and my spray paint of choice is Rust-oleum 2x UltraCover, pictured below.

I tried others and they didn't work well at all. I ended up rolling the desk top and file cabinet, but that is because I wasn't happy with my spray painting, but you are able to spray paint all items, if you spray paint correctly. Some AWESOME tips I found were on All Things Thrifty. I didn't too much like the Krylon brand, but its just preference between Krylon and Rust-oleum.
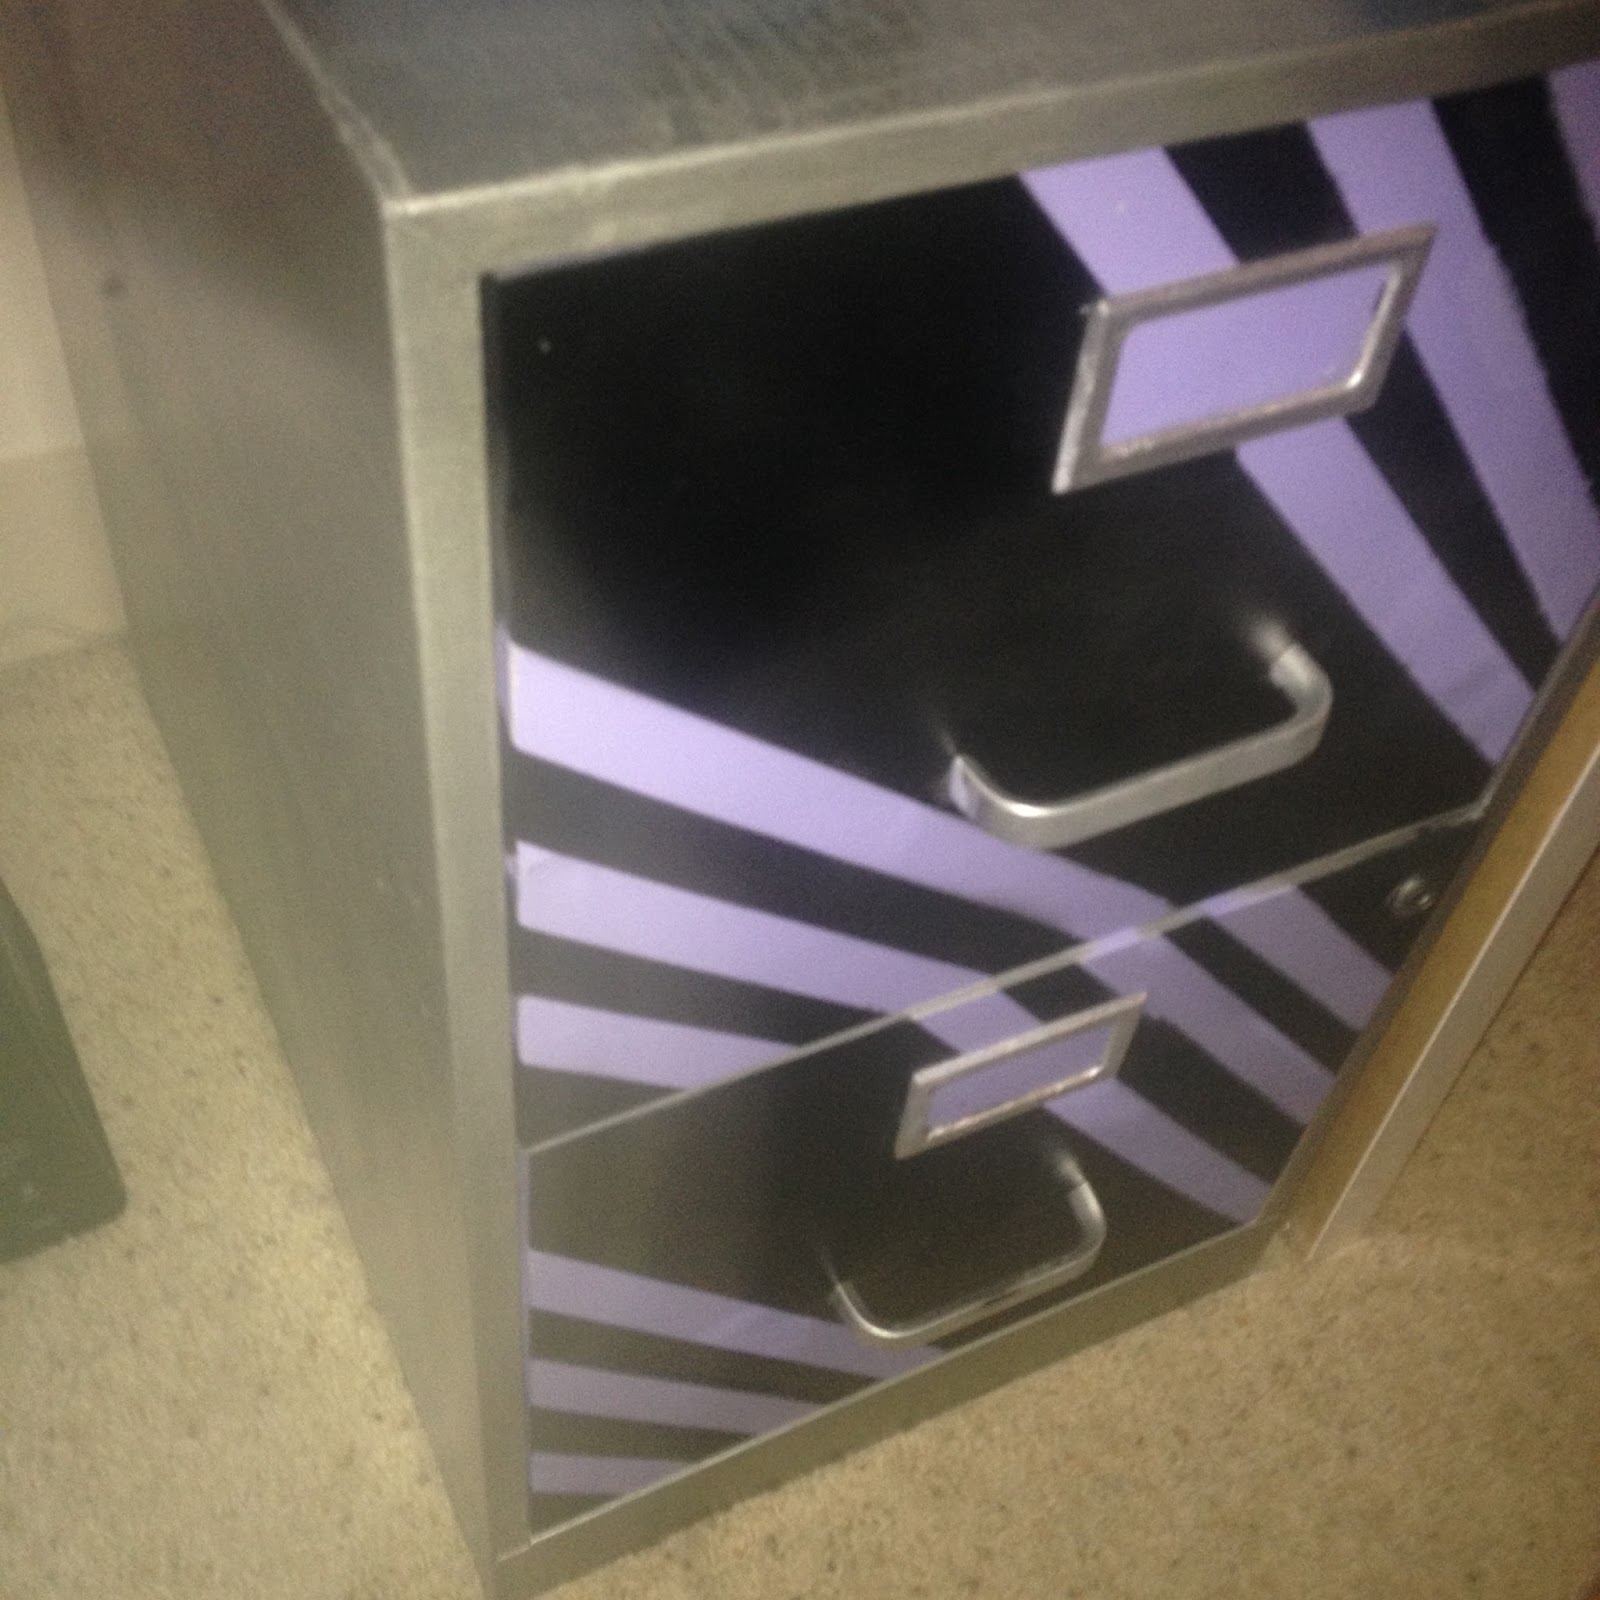
The file cabinet was actually the easiest. Notice my tape ventures. I was able to later take off the handles and spray paint them a chrome color.


After some taping and painting, I was finished with the file cabinet within 2 days, because I let it sit overnight to dry. As you can tell some of the lines aren't straight because I was having a time with the tape and painting. Lesson number two- do not leave tape on while paint is drying and be ready to fight with the bleeding of the paint while the tape is being removed.
Next, I tackled the bookshelf, in which I had to take completely apart and sand each piece by hand, because the sander I purchased didn't work well for me at all. Its the HyperTough 1/4 Sheet Sander and I purchased it at Walmart. I returned it because it was easier to sand by hand then with this sander. I guess you get what you pay for.

So after taking apart the bookshelf, I sanded each piece by hand and commenced to spray painting. I did have to tape the sides for the pieces that have two colors.


I didn't sand too much, because I was re-painting the outsides back to black and I used primer on the inside of the bookshelf for the silver.


I forgot to take pictures of the inside of the bookshelf before I put it back together. Hopefully you can tell with the below finished pictures of how the shelf on the bookshelf ties into the file cabinet colors.


So then there was tackling the difference in height for the bookshelf and the file cabinet, after long deliberation and trying casters and looking for legs, I was able to go to Lowe's and purchase a piece of wood and had them cut six three inch pieces off the wood. I did six because I read a lot of places where the inches would be off with cuts, so I hoped that with more than needed I could find four that would be the same size.


On that trip, I also purchased Wood screws and brackets to attach the wood blocks to the bookshelf.


Lesson Three- Don't screw in the brackets too tight or it may bust the wood on the other side of the bookshelf, see bottom right in the below picture.

After screwing in the wood blocks to the brackets, I had successfully put together the bookshelf and it more or less matched the height of the file cabinet. At first I was going to keep the top white, but it looked very homely and didn't match what I vision well at all.

So I decided to paint the top, which is why I am glad I got the regular white top and not the gloss white top.

I know I am missing a lot of details, but I don't want to put instructions, because I am such an amateur, I am just documenting and showing some of the things I like to do on my days off. Hope you like my creations. I actually had this idea before I saw it on IKEA, but my real inspiration came from Martha Stewart bookshelf desk, but I didn't have two bookshelves, so I improvised and then guess what I saw? Yes, you guess it, I saw a similar item on IKEA.

I am thinking on putting a back on the bookshelf, but right now it will be easy to put the printer and other items with cords on the bookshelf.


No comments:
Post a Comment